Applying Sensitivity Labels
Applying Sensitivity Labels in Office 365 is easy. Outlook, Excel, Word, and even PowerPoint allow you to apply labels to files. PDFs are also possible! However, the steps are very different. Please refer to [this article] on how to label PDF files.
Whether you are trying to apply a label to an email or a file, the symbol for sensitivity is the same. Look for the icons listed below when trying to apply a label. They should always be available from the “home” tab of most Office 365 applications you are in.
If you do not see this icon available, the application you are using may not support sensitivity labeling.
Applying a sensitive label to an email
When opening Outlook, either on the web or desktop application, you may not see the sensitive label option immediately. This is because you must start a new email or reply to one to see the sensitivity button.
When creating a new email, regardless of if it is Outlook for the Web or Outlook for the Desktop, you should always see this icon available near the top right of the new email window.
This blue stamp icon is the universal symbol of sensitive labeling when it is available. Clicking it will display all four classification levels of Xpress Global Systems’ Sensitive Label Schema. You will also see the sub-levels of each classification which will control the access to the email (if you choose to apply the sensitive label).
Applying a sensitive label in Office 365 applications
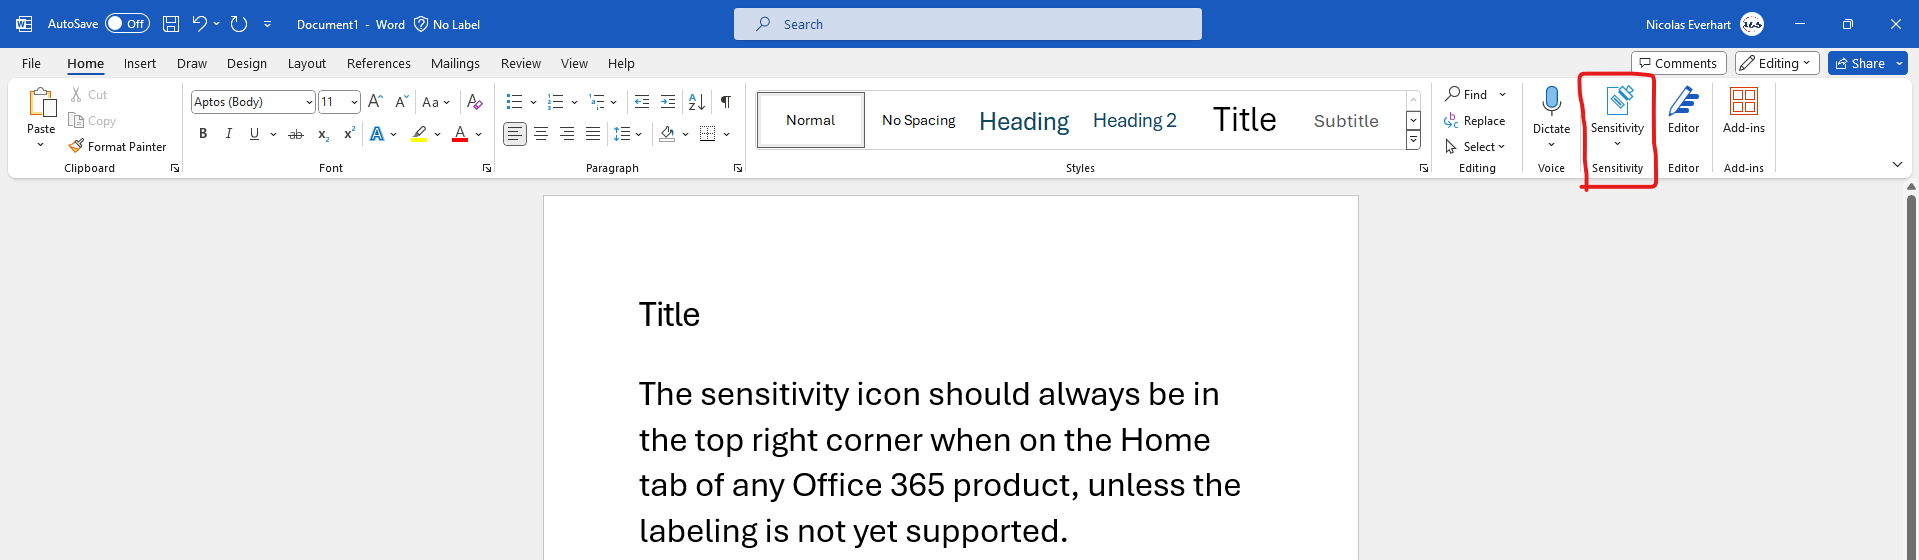
You should see the sensitivity icon in Word, Excel, or PowerPoint always in the home tab near the top right of the application you are in. If you do not see the sensitivity icon, you may need to change to “Home” in the top bar of the Office 365 application.
It is not possible to adjust the sensitivity label of labeled files you are not the owner of. If you encounter a file where you feel the sensitivity label should be adjusted, please contact the owner of that file to have it adjusted.
Decreasing Sensitivity label
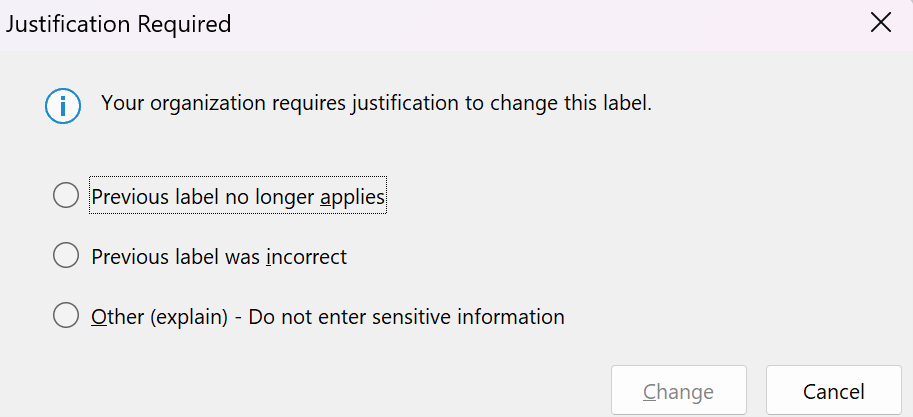
It is possible to degrade a file or email’s classification to a less restrictive label if you are the owner or co-owner of a file. However, you will be required to provide justification upon performing this action. This activity and your provided justification will be available for IT (Information Technology) and HR to review if required.
You will be presented with this prompt upon attempting to degrade a sensitivity label, if allowed:
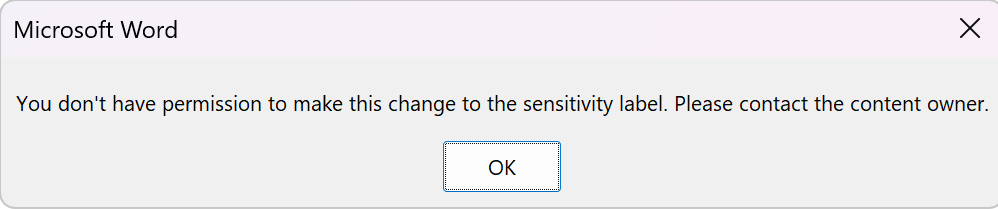
If you are not permitted to decrease the sensitivity label of a file or email, this will appear:
Increasing Sensitivity Label
It is possible to increase a file or email’s classification to a more restrictive label if you are the owner. Unlike decreasing, increasing sensitivity label does not require justification.
How to find the content owner information
If you encounter a message that states, “Please contact the content owner”, you can find this information in the info section of most Office 365 applications by going to FILE > INFO:
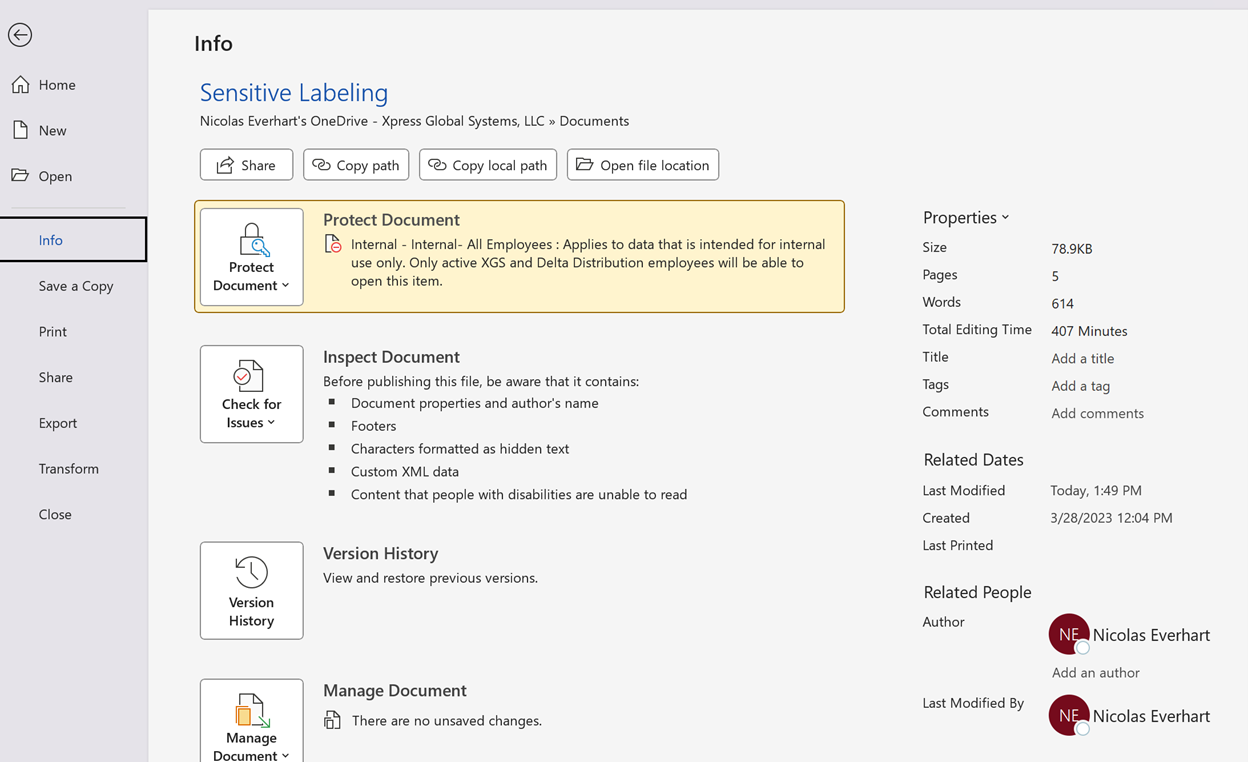
While it is possible to have multiple owners of a labeled file. The “main” owner is always the Author shown in the bottom right corner.
Specific People Sub-Label
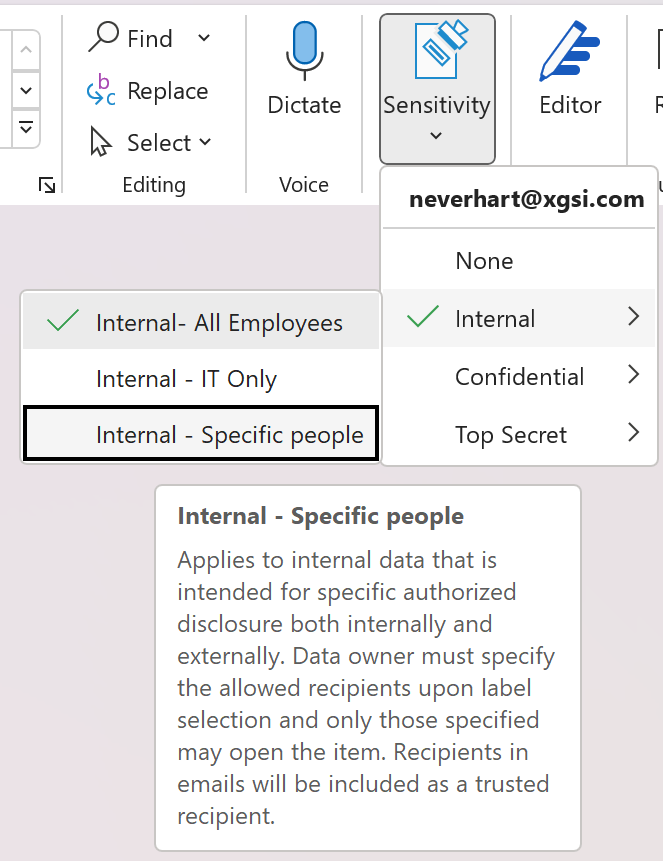
With most labels, a description will be provided as you hover it that explains what it will do and who will have access. However, there are scenarios where you may want granular control over a file or you need to be able to share it externally. The sub-label “Specific People” will accomplish this.
In emails, specific people will not prompt you for any more information and will automatically include recipients of the email as the people you “trust” to access the email you are about to send.
When labeling files, there are a few more steps. Upon selecting the specific people sub label, you will be presented with this prompt:
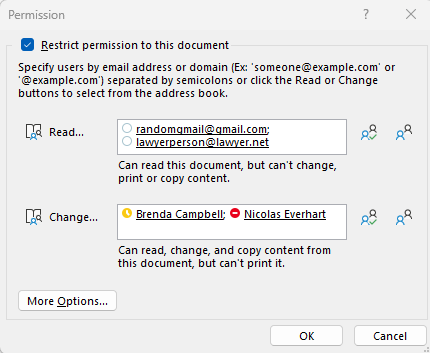
Once you choose the employees or external recipients that should have access, you may click OK. However, it is recommended to review the More Options… tab first. Just to ensure that the behavior is what you desire.
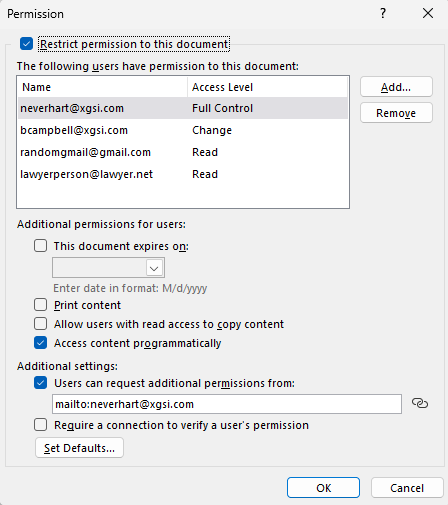
You can set these settings as you wish. Depending on the contents of your specific file, some of these permissions may or may not be desirable. If you find yourself often having to adjust these settings, you can always click Set Defaults… after adjusting the permissions to the desired settings so that you don’t have to continuously make these changes.