Summary
All computers and laptops owned by XGS have an AS400 emulator pre-installed with the default session. However, most employees prefer having a customized session where they can have their own personalized settings and use handy features such as auto reconnect.
The icon normally looks like this:
![]()
This article will explain how to create a personal AS400 Session
Creating an AS400 Session
Press your Windows key in order to open you start menu.

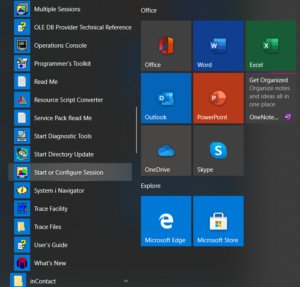
Scroll down your start menu until you see IBM i Access for Windows
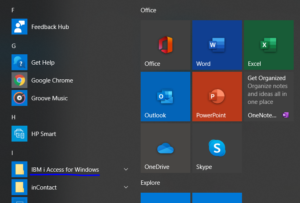
Open that folder and scroll until you see Start or configure session and click that icon.
A program should open that looks like this
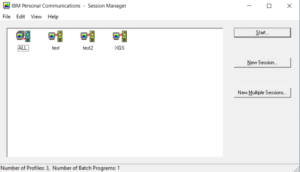
In most cases, this will be empty and no icons will be there. Click New Session in order to open up the AS400. This will open up the AS400 terminal.
Configuring a session
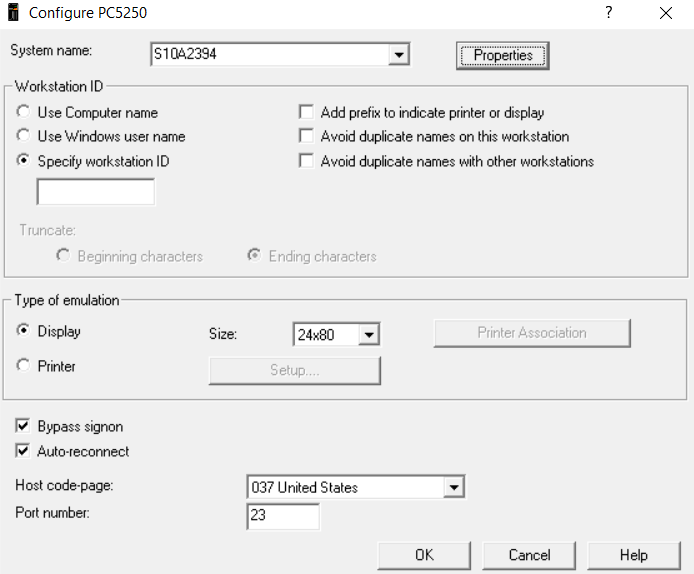
Once your new session finishes loading. A terminal will appear along with a configure screen. This is where you will configure your new AS400 session.
Here are the settings that should be changed from the default
System Name: S10A2394

Bypass signon: Enabled (Checkmark).

Auto-Reconnect: Enabled (Checkmark)
Here is an image of what that screen should look like:
Next, Click on the button that says Properties. A new menu will appear that also needs configuration changes.
Here are the settings that should be changed from the default
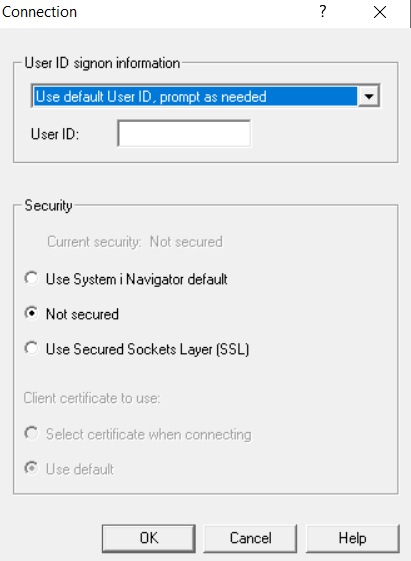
User ID sign on information: Use default User ID, prompt as needed
User ID: Your AS400 ID
Security: Not Secured
Here is an image of what that screen should look like:
Click on OK to exit out of the properties. Then, click OK to exit out of settings.
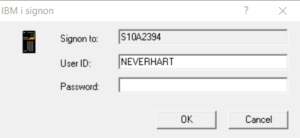
If you see this menu, then you have created a session properly:
Saving the session
Next, you have to save the session. Go ahead and sign on or hit Cancel.
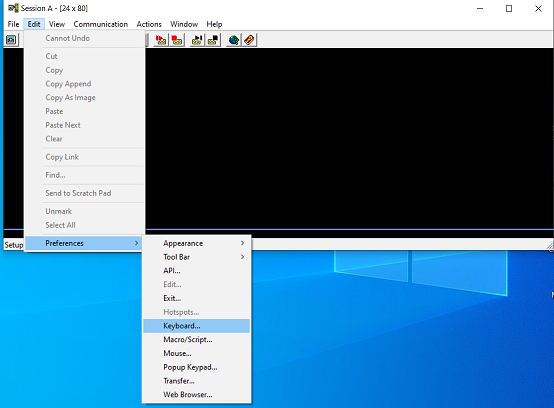
Once you have done either, click on File at the top left of the terminal and then click on Save As…
A Save WorkStation Profile as menu should appear. Prompting you to enter a File Name. Look near the bottom and fill out the File Name field. XGS.ws or AS400.ws will do fine.
Once you hit Okay. Go back to IBM Personal Communications – Session Manager:
An icon will appear in the whitespace of the program listed above with the File Name you chose earlier.
Drag and drop that icon with your file name to your desktop
And you’re done! If you double click the icon you placed on your desktop, it will open into the AS400 terminal with your settings.
Optional customization steps
Now that you have your own personal AS400 session. You can change settings without requiring administrative rights. None of these steps are required and you can skip them, if you wish.
Change Numpad enter from a field exit to an enter command
One preference change that many employees prefer is to change how the AS400 handles the Numpad Enter Key. By default, the AS400 treats that key as a field exit rather than enter.
You can change this by Click on Edit in the AS400 and hovering over preferences then going to Keyboard…
Once you click on Keyboard… this menu should appear:
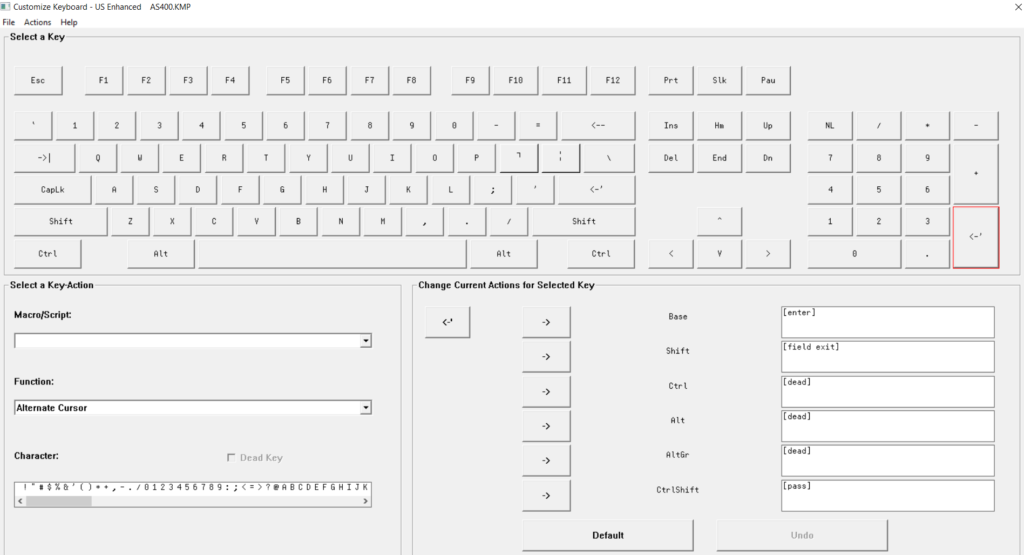
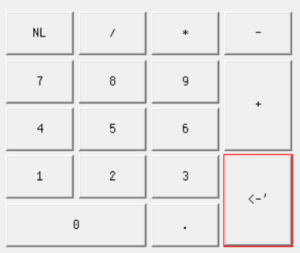
Click on the button you see here highlighted in red:
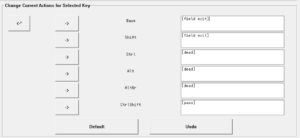
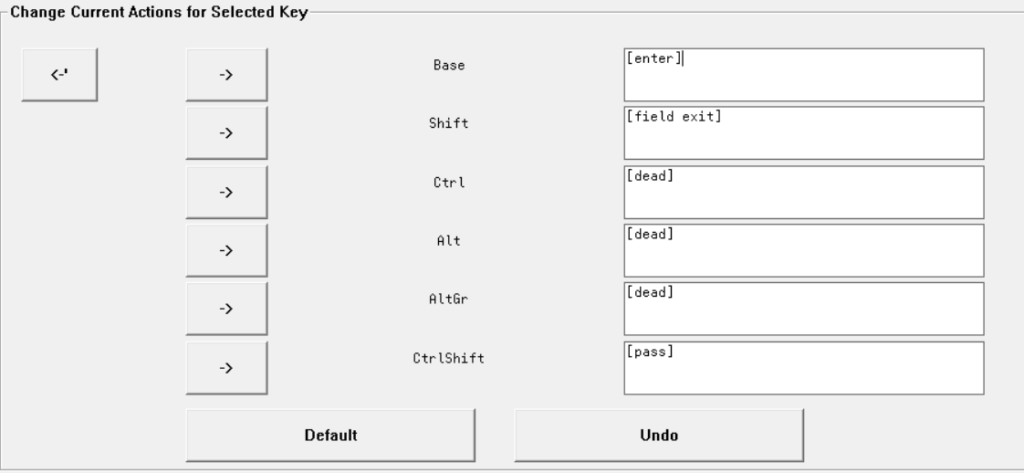
You should see this section at the bottom with the first whitespace block having [Field Exit]. Change [Field Exit] to [Enter]:
Next, simply close the window and it will ask if you wish to save these settings. Click Yes and then Yes on both menus that appear.
Once you hit save. you’re done! Now, when you hit numpad enter in AS400, it will behave like the normal enter key does.
Troubleshooting
For all these issues. You can re-access your session properties again after closing then by clicking Communication and then Configure…
When I log in. It just sits at the logging in screen!
The System Name in properties is most likely incorrect. Please check that field for typos.
It should be: S10A2394
It tells me my password was incorrect every time I open the session!
This is most likely because your User ID Sign on information is incorrect. Please check your connection properties again and make sure the field says “Use default User ID, prompt as needed”
The User ID field is always empty!
This is because the User ID field in your session’s properties is empty. Go back to your connection properties and add your username to the User ID field.
It says “CWBC01034 – SSL error, funciton returned 25406, S10A2394”
You have your security setting set to Use Secured Sockets Layer (SSL) instead of Not secured
I have another issue not listed
Please submit a ticket to xgshelp@xgsi.com